Building Web Forms Without the Hassle – A Guide to SurveyCompo
Imagine you're a startup founder with a great idea, but you need to gauge interest from potential users. Or maybe you're a small business owner looking to create a simple contact form for customer support requests. You don't have a full CRM system yet, and you don't need one. What you need is a straightforward form that captures essential user input, notifies you upon submission, and stores the data for later use. Sound familiar?

The Challenge
As simple as it seems, this task is often more complex than expected.
You could build the form yourself, but it involves more than just a bit of HTML. You’ll need a backend server to handle the data, a database to store it, and a mechanism to download the data and send notifications when the form is submitted. What seemed like a quick task quickly turns into a complex project, consuming valuable time that could be better spent on your core business.
CRM/CMS solutions might offer these features, but they come bundled with other tools and are often expensive, complex, and time-consuming to set up. You don’t need a full CRM—just a simple form.
That's where SurveyCompo comes in –– a versatile survey tool that offers flexibility and customization options. With SurveyCompo, you can create a form, collect submissions, and receive notifications with ease.
Introducing SurveyCompo
SurveyCompo is a tool designed to render surveys and forms based on JSON data, allowing for easy customization and embedding. It offers both hosted and self-hosted solutions to cater to different needs. With SurveyCompo, you can:
- Create and customize forms/surveys easily
- Publish and embed them on your webpage
- Capture form submissions and receive notifications via webhooks
- Download submitted data for further analysis
And the best part? SurveyCompo offers a free plan to get you started!
Step-by-Step Guide to Setting Up Your SurveyCompo Form
Here's how to set up your form with SurveyCompo in just a few steps:
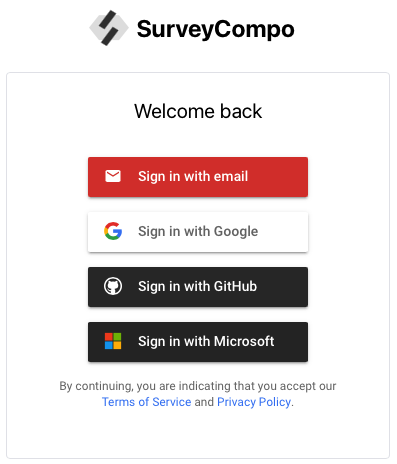
1. Register a SurveyCompo Account
Begin by registering for a free SurveyCompo account. The registration process is quick and easy, and you'll gain access to all the tools you need to create your form.
2. Create Your Form/Survey
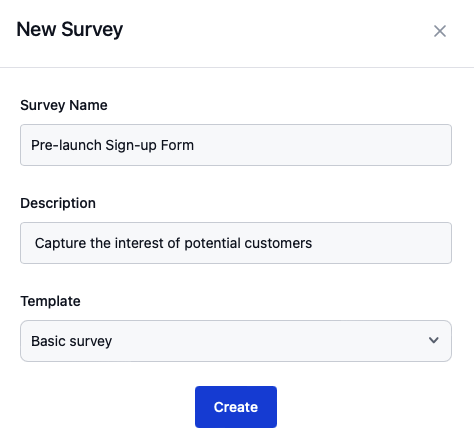
Once logged in, navigate to the dashboard and click on "New Survey." Name your form and select the 'Basic Survey' template. For this example, we'll name the form 'Pre-launch Sign-up Form'.
3. Design your Form
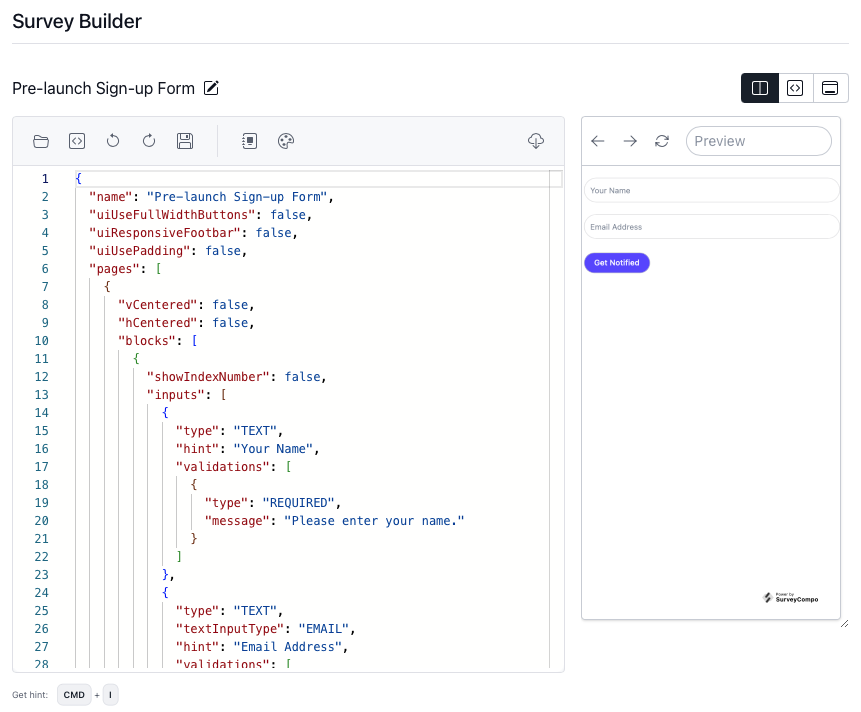
After creating the form, you can design it by updating and adding the fields you need in the Survey Builder interface.
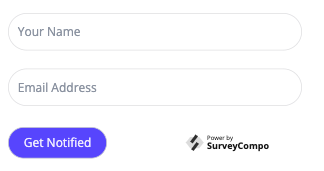
In this example, we'll use a single page with name and email inputs. Since the form is based on a template, we'll remove the start screen and replace the default question with the name and email fields.
SurveyCompo supports various features and customization options, including different input types, validations, conditional logic, and themes. You can explore these features in the SurveyCompo documentation to create a form that suits your needs.
We've added some special traits to make the form more user-friendly and visually appealing when embedding it on a webpage. We disabled the padding around the form, set the primary color to match the brand, disabled the full-width buttons, hid both the progress label and navigation buttons, and used 'memory' for caching.
You can quickly get started by copying and pasting the following JSON code into the Survey Builder:
{
  "name": "Pre-launch Sign-up Form",
  "uiUseFullWidthButtons": false,
  "uiResponsiveFooterbar": false,
  "uiUsePadding": false,
  "uiShowNavigation": false,
  "uiShowProgress": false,
  "pages": [
    {
      "vCentered": false,
      "hCentered": false,
      "blocks": [
        {
          "showIndexNumber": false,
          "inputs": [
            {
              "type": "TEXT",
              "hint": "Your Name",
              "id": "name",
              "validations": [
                {
                  "type": "REQUIRED",
                  "message": "Please enter your name."
                }
              ]
            },
            {
              "type": "TEXT",
              "textInputType": "EMAIL",
              "id": "email",
              "hint": "Email Address",
              "validations": [
                {
                  "type": "REQUIRED",
                  "message": "Please enter your Email address."
                },
                {
                  "type": "EMAIL",
                  "message": "Please enter a valid Email address."
                }
              ]
            }
          ]
        }
      ],
      "nextButtonLabel": "Get Notified"
    }
  ],
  "completeScreens": [
    {
      "header": "Thank you for your interest!",
      "description": "We'll keep you updated on our progress and notify you when we launch."
    }
  ],
  "theme": {
    "primaryColor": "#6b63fe",
    "defaultRadius": "2em",
    "fontFamily": "inherit",
    "textColor": "#5d5d5d"
  }
}
4. Publish the Survey
After customizing your form, it's time to publish it. Click on the "Publish" button on the "Publish & Share" page and choose the appropriate settings.
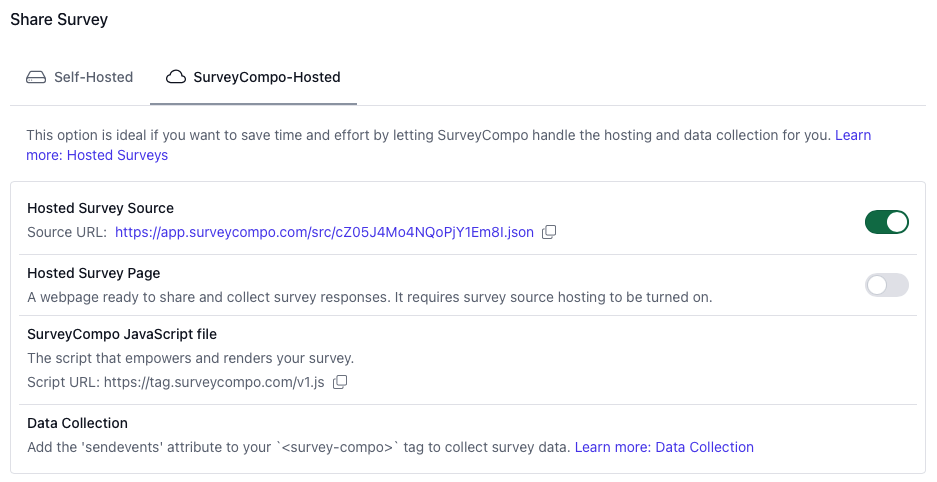
SurveyCompo offers both hosted and self-hosted solutions. Self-hosted options are ideal for users who want full control over their data, while hosted solutions are great for those who prefer a hands-off approach. In this example, we'll choose to let SurveyCompo host the survey for us. Copy the Source URL for later use.
5. Embed the Form on Your Webpage
Embedding your form on your website is simple with SurveyCompo. Click the 'Embed' button to view the code needed to embed your form. Our example code includes a script tag to load the SurveyCompo library and a custom HTML tag to render the form:
<div class="myForm">
  <script async src="https://tag.surveycompo.com/v1.js"></script>
  <survey-compo src="cZ05J4Mo4NQoPjY1Em8I" cache="memory" />
</div>
For demonstration purposes, we used a simple landing page from Codepen and created a fork to add the form.
This is how it looks (see full page view):
See the Pen Landing Page Example by SurveyCompo (@surveycompo) on CodePen.
Please feel free the explore the code and customize it to fit your needs.
6. Add a Webhook for Slack Notifications
To receive notifications when a form is submitted, set up a webhook. In this example, we'll use Slack notifications.
First, create a webhook in your Slack workspace. Slack provides a simple process for creating a webhook, detailed in the Slack API documentation. Follow the steps to create a webhook URL, which should look something like this: https://hooks.slack.com/services/T00000000/B00000000/XXXXXXXXXXXXXXXXXXXXXXXX.
Next, set up the webhook in SurveyCompo. Navigate to the "Settings" section in your SurveyCompo dashboard, create a new webhook, and paste the Slack webhook URL you created earlier. Save the webhook.

Now, whenever a user submits the form, you'll receive a notification in your Slack channel.

7. Download Submitted Data
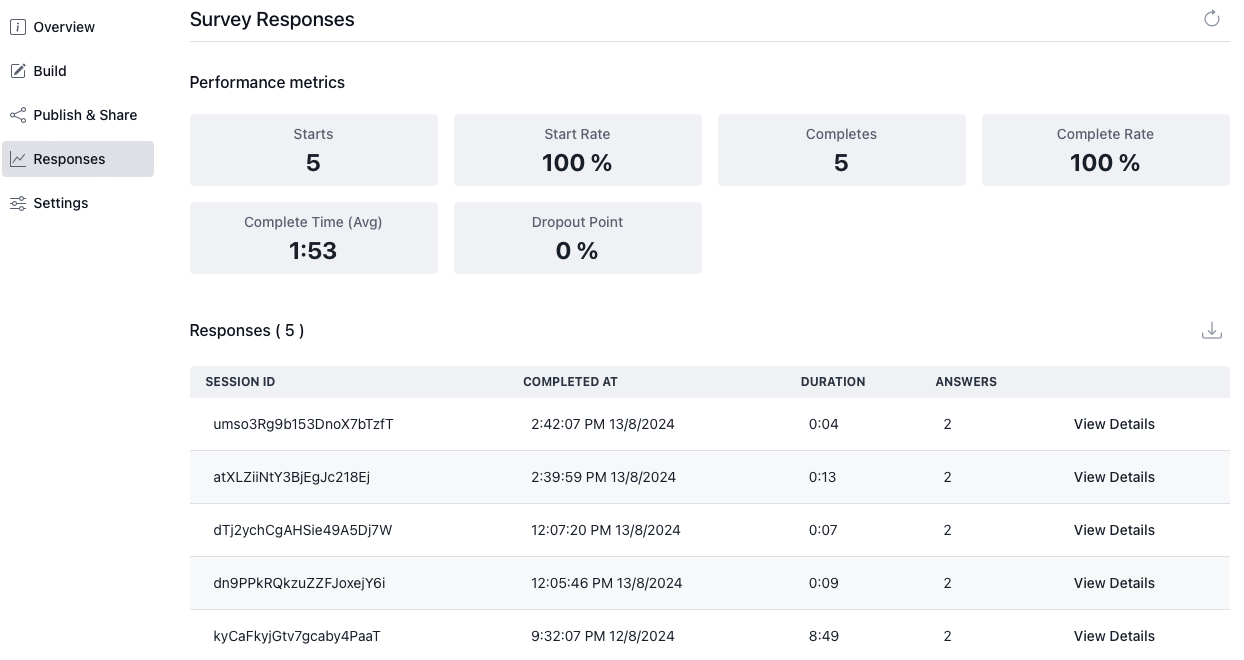
Finally, accessing the data submitted through your form is straightforward. Go to the "Responses" section in your SurveyCompo dashboard, where you can download all submissions in various formats (e.g., CSV, JSON) for easy analysis or record-keeping.
Conclusion
SurveyCompo simplifies the process of creating, customizing, and managing web forms, making it a great tool for startups and small businesses. Whether you need to capture early user interest, handle customer support requests, or gather any other type of data, SurveyCompo offers a simple, flexible, and cost-effective solution.
For more information, visit the SurveyCompo homepage or check out the SurveyCompo documentation for detailed guides and tips.